First, this is what I mean about serial numbers. Suppose you're using a Windows system, have a floppy disk at drive A:/ and a regular USB flash drive at E:/, and you run these commands in the command prompt:
C:\>vol E:
Volume in drive E is CRUZER
Volume Serial Number is 955C-59BF

C:\>vol A:
Volume in drive A has no label.
Volume Serial Number is EC2B-36AF
These serial numbers are assigned when the drive is formatted; reformatting a floppy disk or flash drive will give it a different serial number.
According to The Wikipedia, the serial number (ID) is kept in two different places on the partition depending on the version of FAT being used.
In FAT12 and FAT16 (used with floppy disks), the ID begins at byte offset 0x27 (39 in decimal); in FAT32 (used with flash drives and external hard drives), the ID begins at 0x43 (67 in decimal).
So, with the handy dd utility that comes standard on pretty much any Unix-like system, you can extract this information and display it. Here are a couple of one-liners you can run in a Unix terminal. I'll explain how they work afterward.
# For FAT32 filesystems (modern flash drives)
dd if=/dev/sdb1 skip=67 bs=1 count=4 | hexdump -v -e '1/1 "%02X" " "' | xargs perl -e '@_=@ARGV; print "Serial Number: $_[3]$_[2]-$_[1]$_[0]\n"'

# For FAT12/16 filesystems (old floppy drives)
dd if=testfloppy.img skip=39 bs=1 count=4 | hexdump -v -e '1/1 "%02X" " "' | xargs perl -e '@_=@ARGV; print "Serial Number: $_[3]$_[2]-$_[1]$_[0]\n"'
I underlined the input file (if) and byte offset (skip) in both of these commands. In the first one, I ran the command on a real, physical, flash drive, that had a device node at
/dev/sdb1 for its one and only partition. In the second one, I ran it on a floppy disk image file (who has a computer with a real floppy drive these days?)If you're going to be using a physical device like in my first command, you need to run the command with root privileges (regular users can't read directly from the device node). My second example (using an image file) can be run as a regular user, however.
These commands printed in the terminal for me:
(for the flash drive)
4+0 records in
4+0 records out
4 bytes (4 B) copied, 3.3445e-05 s, 120 kB/s
Serial Number: 955C-59BF

(for the floppy image)
4+0 records in
4+0 records out
4 bytes (4 B) copied, 3.1551e-05 s, 127 kB/s
Serial Number: EC2B-36AF
And now, how the commands work. I'll use the flash drive command as the example. In this one-liner, three commands are being executed at once:
dd if=/dev/sdb1 skip=67 bs=1 count=4
hexdump -v -e '1/1 "%02X" " "'
xargs perl -e '@_=@ARGV; print "Serial Number: $_[3]$_[2]-$_[1]$_[0]\n"'
The
dd command gets the operating system to read raw data from the flash drive at /dev/sdb1, skipping the first 67 bytes, reading only 1 byte at a time, and reading a total of 4 bytes. This gets the 4 byte serial number; now we need to display it in hexadecimal like Windows and DOS.
The hexdump command takes the 4 binary bytes and displays them in hexadecimal. On my flash drive, it looks like this: BF 59 5C 95. Note that the hex codes are out of order; Windows shows them as 955C-59BF - basically, the reverse of what hexdump shows. Hexdump is showing the correct order; Windows and DOS reverse them when they show you the serial number.
So, we run it through xargs (which turns the four hex numbers into four separate parameters) and sends them to a quick Perl script, which prints out "Serial Number:" and puts the hex codes in the correct order, to give the same result as Windows and DOS.
One could use this information to make a vol command for Unix. If the command checks other places in the filesystem headers to determine the version of FAT, it could automatically use the correct byte offset and get the serial number from both floppy disks and flash drives.
You can download everything from my MS-DOS page. I have some downloads for the following things:
Windows 3.1 can still be installed from these images, it will just require more disk juggling. When you get a "Can't read file" error, you'll usually swap in the next numbered disk and hit enter. Sometimes you'll have to go to the previous disk instead.
If you have issues with erratic mouse movement within Windows 3.1 on VirtualBox, some solutions are (from here):
win /s)The first virtual machine software I found in the last year or two was QEMU. It wasn't an easy virtual machine to work with, and I could scarcely get even Windows XP to function to my liking with it, let alone try running a dinosaur of an operating system that isn't up to speed with current hardware, like what QEMU emulates for its virtual machines.
I was able to install Windows 3.1 on top of the DOSBox emulator. It installed, and ran, and I was able to install Chip's Challenge from Microsoft's Best of Windows Entertainment Pack and play it, with sound effects and everything.
However, DOSBox wasn't made to run Windows. Windows uses a VGA graphics driver by default, which gives it an entire 16 colors to use with a 640x480 pixel desktop. If I wanted to upgrade it to, say, Super VGA and get 800x600 pixels, or even do something as crazy as to get 256 colors, DOSBox didn't handle it well. Sure, Windows would still run, however its color palette would be off (brown dirt blocks in Chip's Challenge would be teal, for instance), and many programs would cause DOSBox to entirely crash.
So, DOSBox isn't a very satisfactory emulator for running Windows 3.1 on.
So, after I discovered VirtualBox, it became my favorite virtual machine software. I use it all the time to do all kinds of mad scientist experiments with my operating systems. So, I tried installing Windows 3.1 on this. First, though, I needed to install a DOS-like operating system, since Windows 3.1 itself is not a real operating system (more of an elaborate DOS game).
Cannot start Windows in Standard Mode.

Make sure you are not running other protected-mode software,
or try starting Windows in 386 Enhanced mode by typing win /3.
Okay... what does
win /3 do for us then?
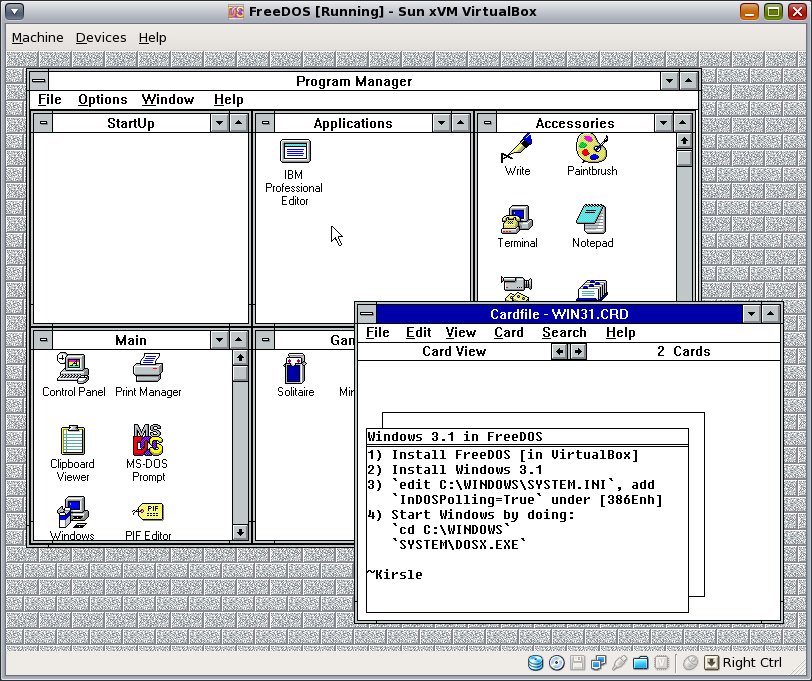
Cannot start Windows in enhanced mode with the currently installed
protected-mode software.

Quit the protected-mode software and try again.
This is where I gave up. And then gave up again the next time I tried this. And so-on. Googling wouldn't help me much, and I'd just hear reports that "FreeDOS can't run Windows 3.1", accompanied by reports that "FreeDOS 1.0 can now run Windows 3.1 thanks to an update to its kernel" -- well, I had FreeDOS 1.0 and Windows wouldn't boot. I finally found the solution, though.
I had to edit C:\WINDOWS\SYSTEM.INI, and under [386Enh] I had to add the line InDOSPolling=True. Furthermore, I had to boot Windows by using the C:\WINDOWS\SYSTEM\DOSX.EXE program, instead of WIN.COM like normal.
C:\WINDOWS>SYSTEM\DOSX.EXE
The catch? You can't start another DOS shell on top of Windows again. So that "MS-DOS Prompt" shortcut, or the "IBM Professional Editor" couldn't be started from within Windows. Sort of defeats the purpose of having their icons there at all.
On the plus side, though, I was able to up the graphics support to Super VGA with no distortion of colors or general instability of the operating system. However, the SoundBlaster drivers wouldn't work, the networking wouldn't work, and I couldn't install a whole lot of actual software due to random odd error messages, which probably had to do with the unorthodox way that I needed to start Windows.
But this time when I tried it, it was pretty easy. I just converted the Windows installers into disk images (not perfectly; the files for each disk wouldn't always fit in 1.44 MB and had to overflow to the following disk, so I ended up with 7 disk images for a 6 disk operating system). Windows didn't care, it would just give errors like "Read Error" and "Please insert disk #2", and I just had to do more disk juggling than usual until it got all the files it needed.
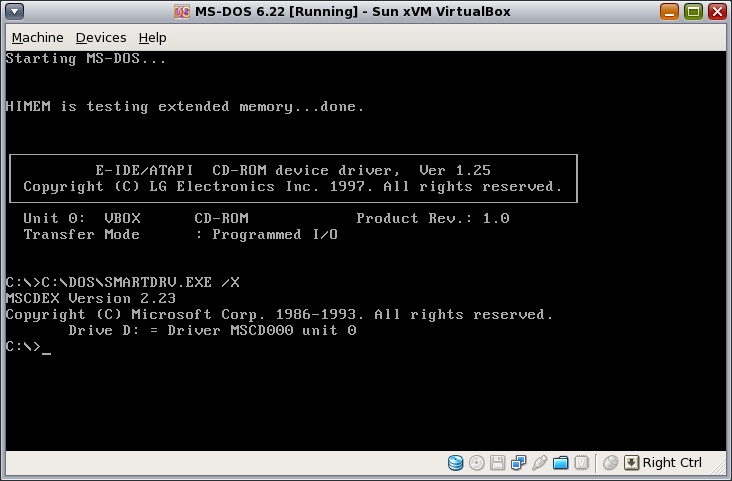
After getting a true MS-DOS installed with Windows 3.1, I was able to *gasp* start Windows in 386 Enhanced Mode, with no problems whatsoever. Then I installed a driver for the CD-ROM hardware, which made it easier to install SoundBlaster 16 drivers. Also I had to give it a couple of drivers (one for DOS and one for Windows) to stop them from consuming 100% of my CPU while running.
(I didn't upload another screenshot of Windows; it looks more or less the same as it did in FreeDOS!)
What works? Well...
Another interesting thing to note: before I installed the drivers for DOS and Windows that makes them stop consuming 100% CPU while idle, if I started a DOS shell on top of Windows, every key I pressed would be sent twice to the new shell. So this made it unusable. After installing those drivers though, the new shell works as it should.
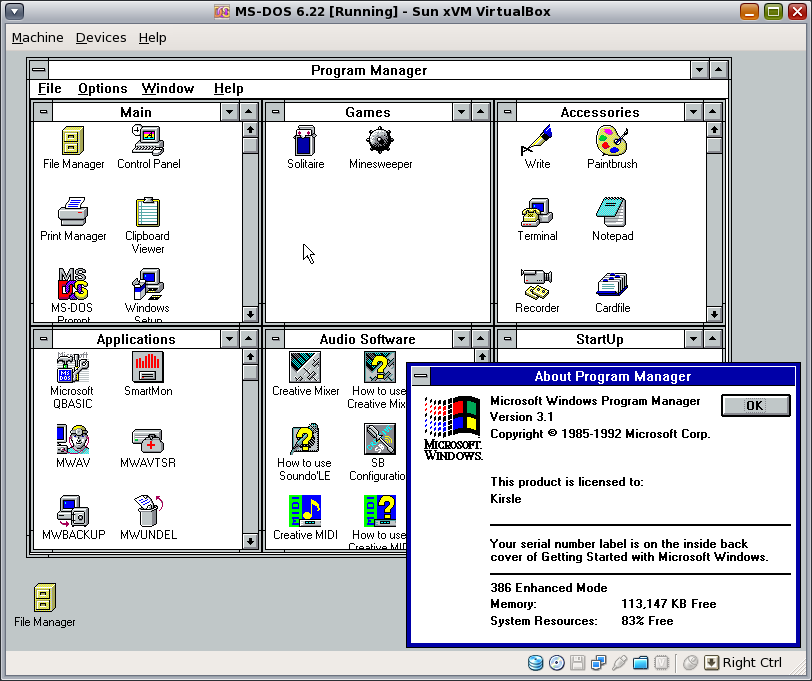
This is definitely the best virtualization of Windows 3.1 I've gotten so far. It's at least 90% as "authentic" as running Windows on a real Tandy machine. I could nearly relive my computing childhood and install BOWEP and a handful of classic DOS games like Police Quest and Frederick Pohl's Gateway on it (not from within Windows, though!)
Or, I could just play it safe and use DOSBox for the games. :P
0.0026s.
![]()